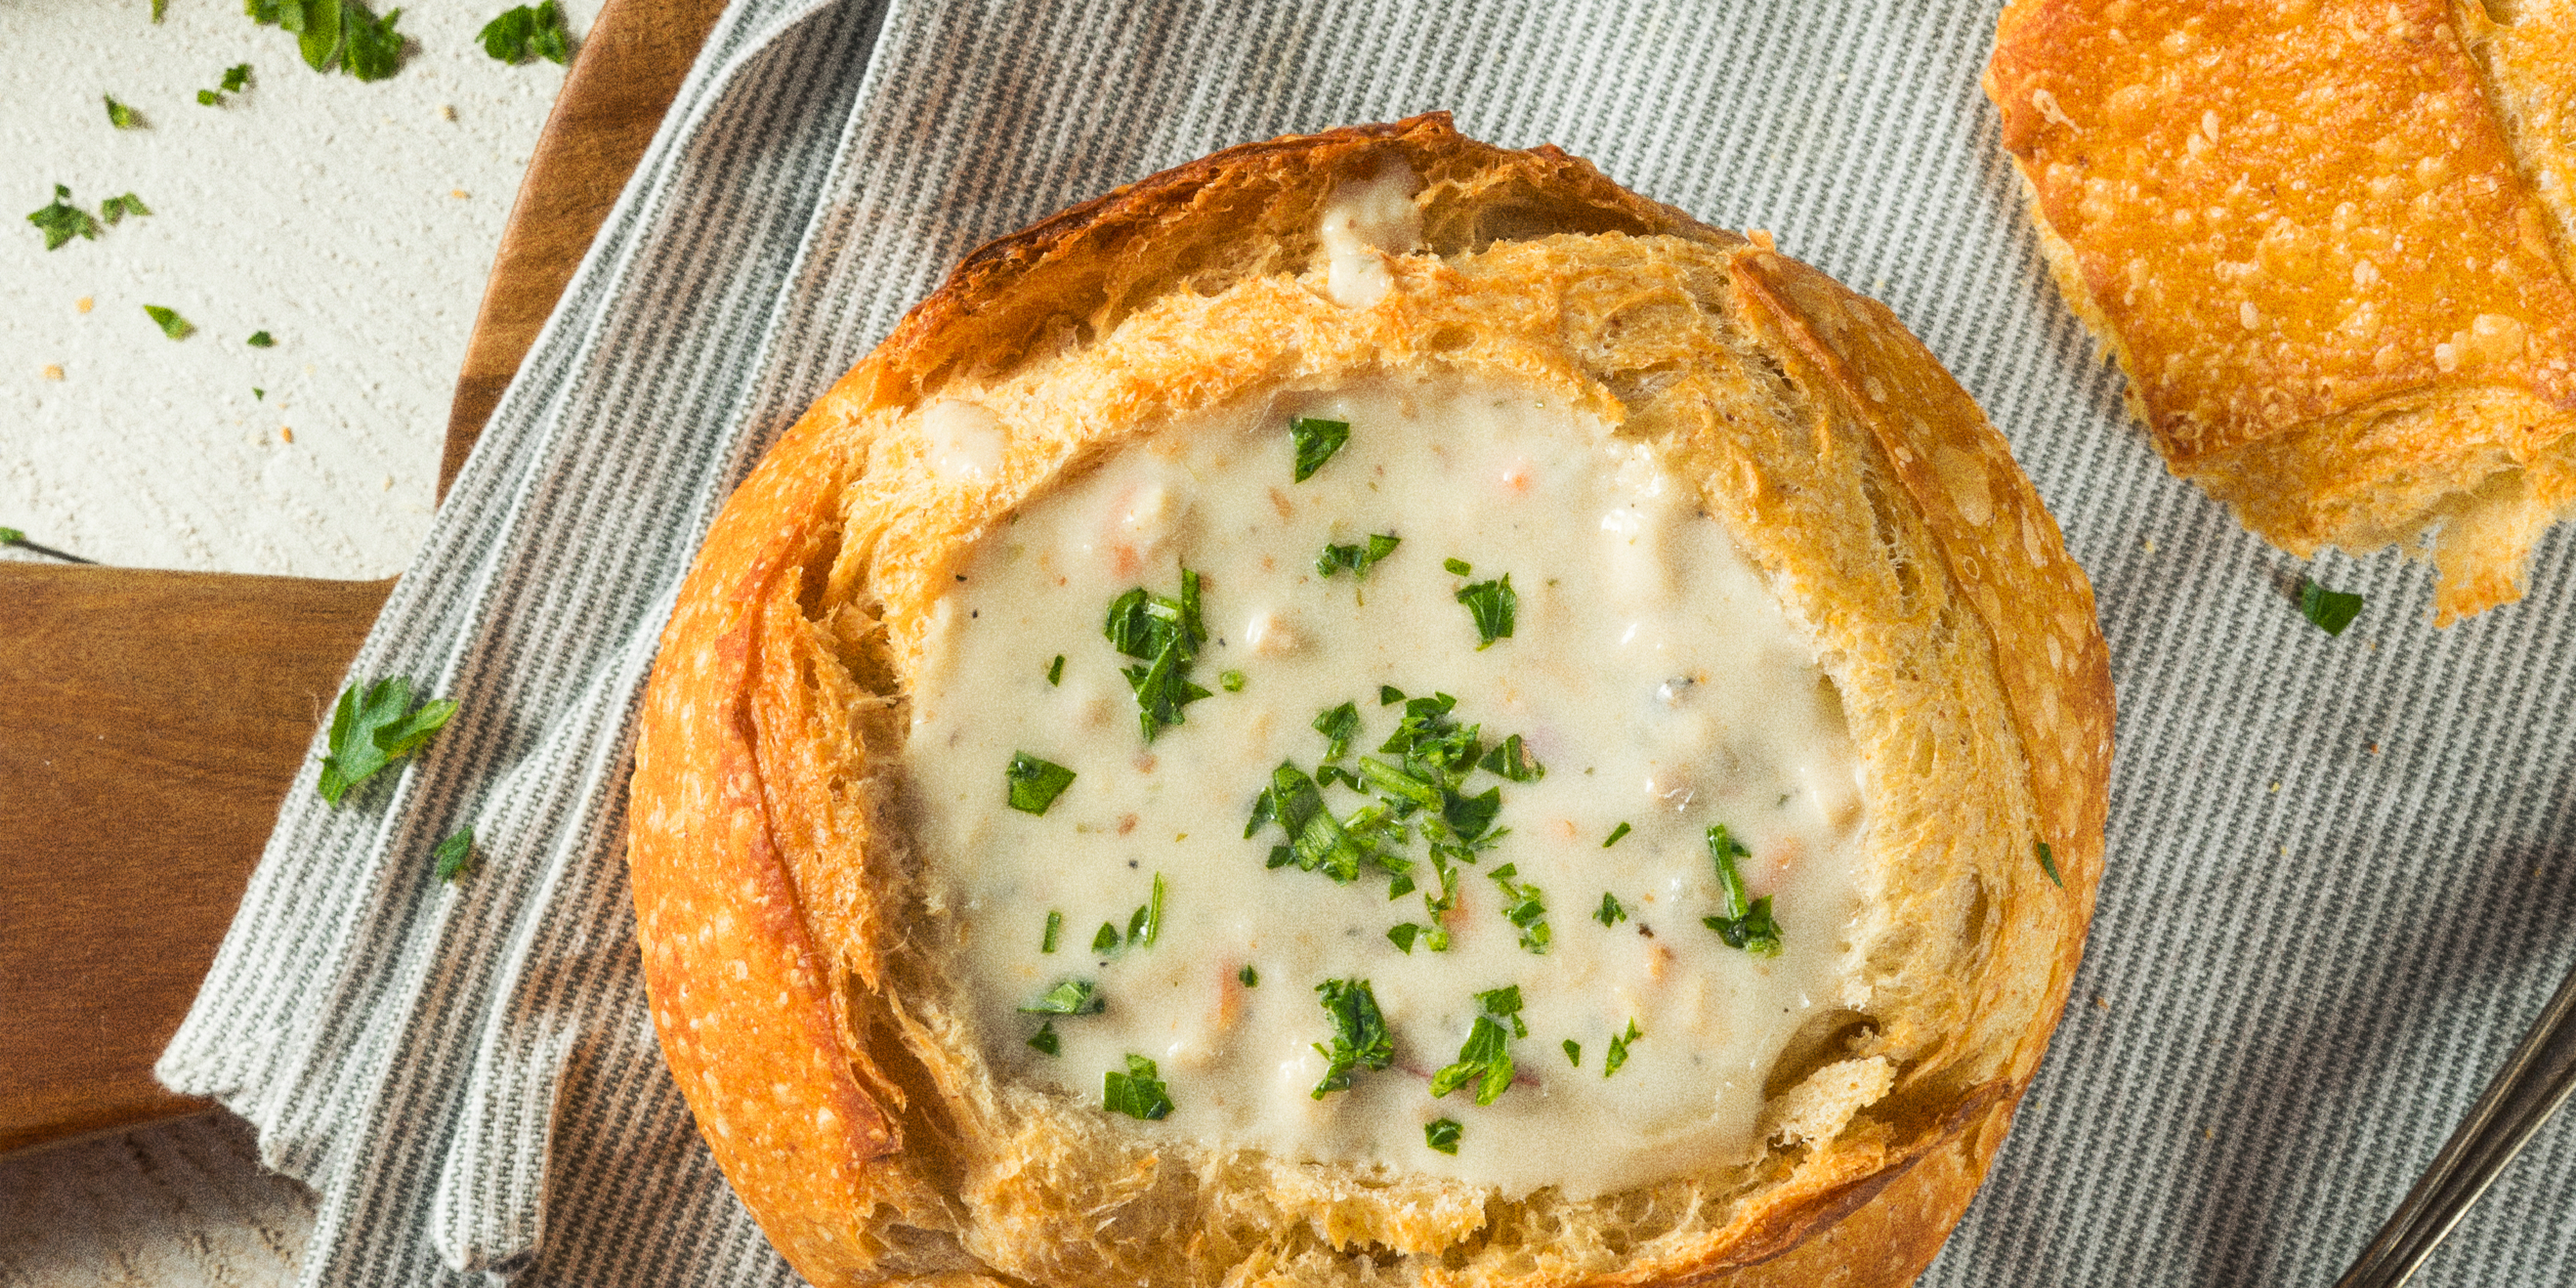
Fall Calls For Soup & Bread Bowls Made In Your Challenger Bread Pan®! It’s that time of the year– where comfort food is on everyone’s mind, and we’ve been thinking about sourdough bread bowls. Did you know you can make 2 full-size sourdough bread bowls in the Challenger Bread Pan at the same time? Using our Keep It Simple (KIS) Sourdough Bread recipe, simply split your dough in half, and you'll have enough for two bread bowl-sized boules. Our easy-to-follow KIS recipe provides guidance at every step, and is used and loved by bakers of all levels, and it’s an especially useful recipe for bakers who are new to sourdough. Time: Approximately 7 hours plus overnight proof and 1 hour for baking, hands-on time approximately 45-60 minutes.
Yield: 2 boules, approximately 375g each
Ingredients: 400g Bread flour 250g Water 80g Sourdough starter 9g Salt
Temperature Side Notes:
Temperature may be your most important ingredient. If you keep your dough as close as possible to 73°F/23°C, you can begin Step 4 6 hours after the time you began Step 1. - For each degree that your dough is warmer than that, subtract approximately 20 minutes.
- For each degree that your dough is colder than that, add approximately 20 minutes.
Mixer Speeds: - Ankarsrum (Low: 2pm; High: 4pm)
- KitchenAid (Low: 2; High: 4)
Tools
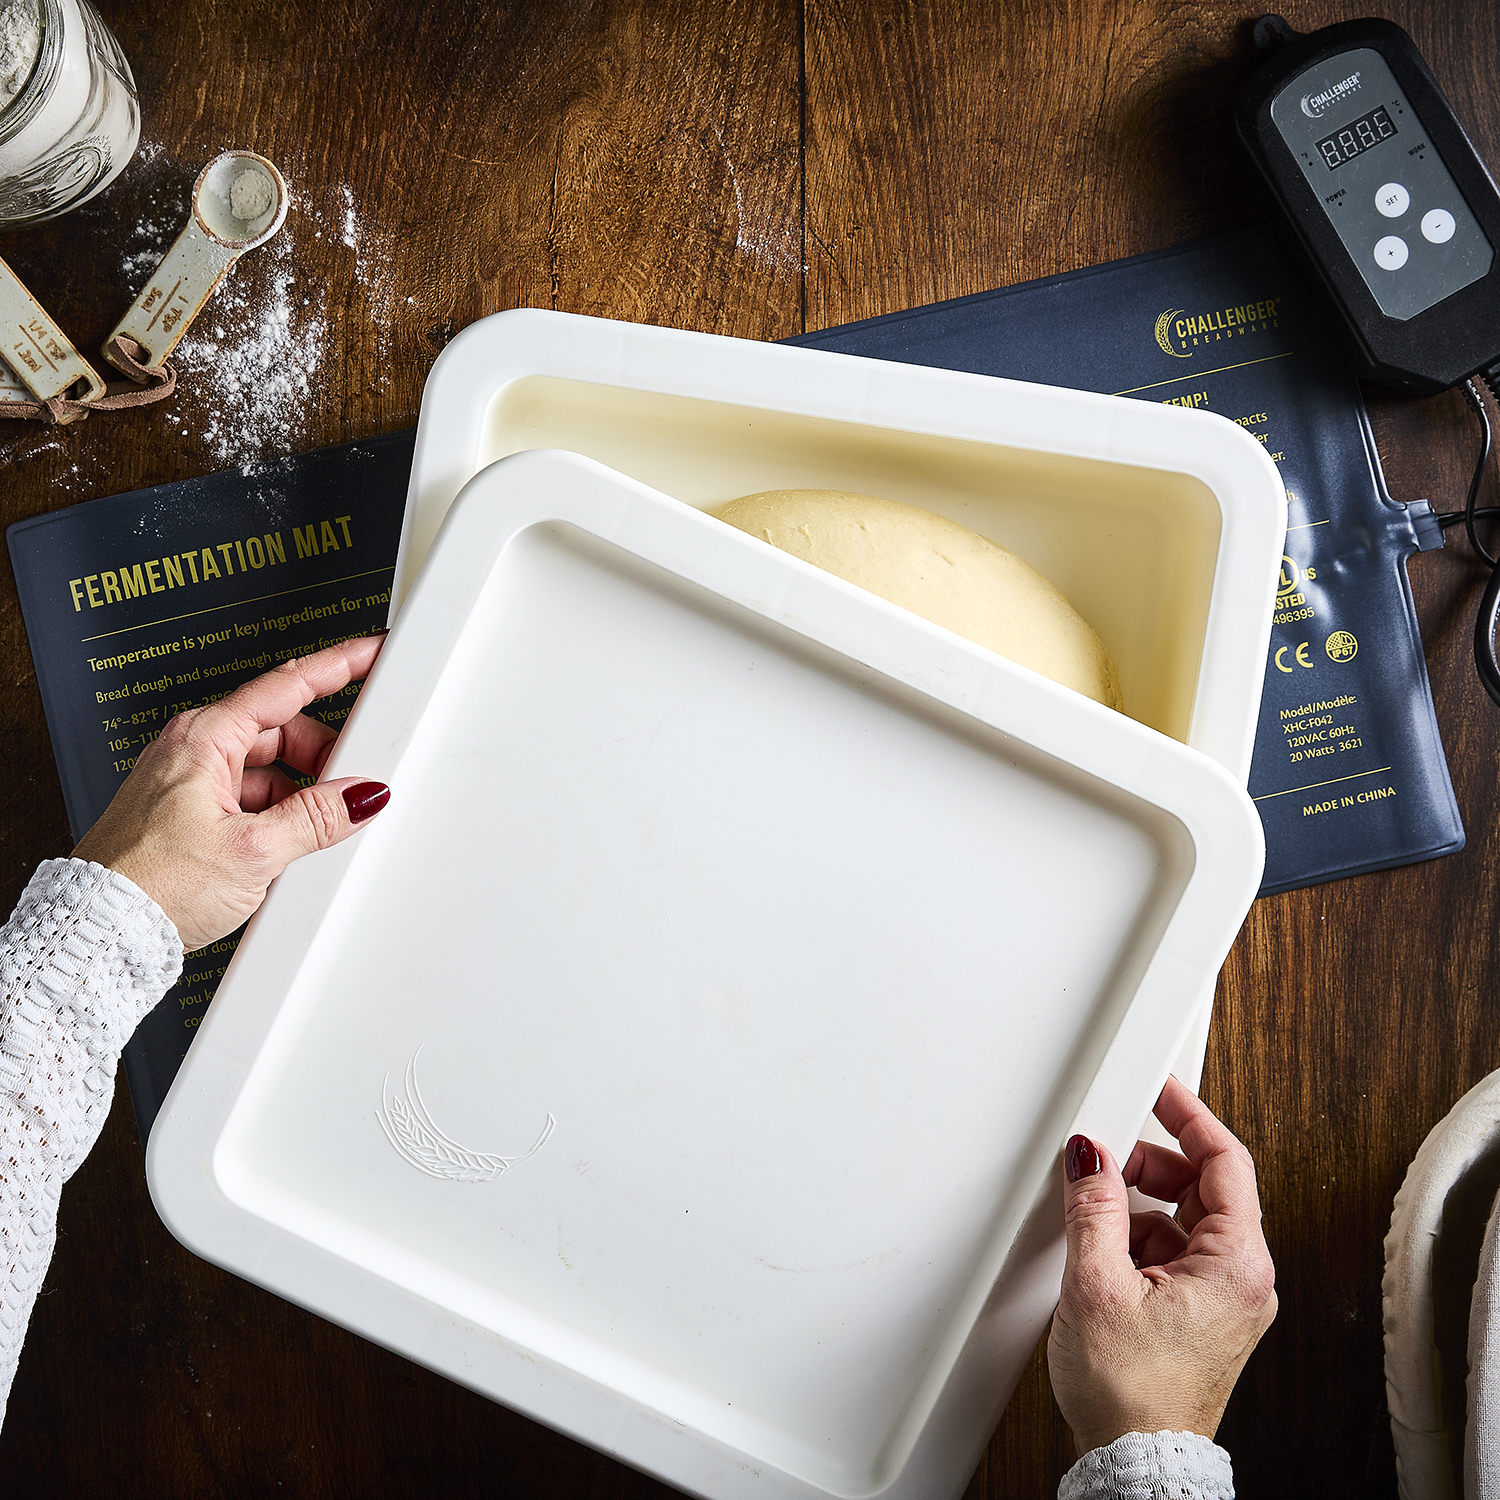
8x8 Pyrex dish or Challenger Proofing Box
Mixer
Banneton covers
Challenger Bench Knife
Challenger Bread Pan
Cloth towels
2 Linen-lined bannetons
Mixing bowls
Nylon dough scraper
Spray bottle
Thermometer
Lame
Step 1: Hydrate / Autolyse Measure your bread flour, water, and salt and place them into separate bowls. Add starter and water to the bowl of your mixer. Mix on a medium speed until incorporated. Add flour. Mix on low speed until you don’t see any more dried bits of flour. Sprinkle the salt on top of your dough. Cover with a towel for 30 minutes.
Step 2: Mix
Mix on low speed for 5 minutes. Mix on medium-high speed for 3 minutes. Let the dough rest for 5 minutes and pull a gluten window. (To test for a gluten window, pinch off a small piece of dough and gently stretch it between your fingers until it becomes thin and see-through. If it tears quickly, the gluten isn’t fully developed, and the dough needs more kneading. If it stretches into a translucent film without tearing, the dough is ready.) Remove the dough and place in an 8”x8” Pyrex dish. Cover with a plastic cover. If you prefer, now would also be the perfect time to proof your dough using our Challenger Proofing Box.
Step 3: Bulk Fermentation
After 30 minutes, coil fold your dough: First, wet your hands and shake off the excess. Pull the dough up with two fingers, stretch and fold under. Rotate 180° and coil fold again. Rotate 90° and coil fold. Rotate 180° and coil fold. Cover with a plastic cover.
Let the dough ferment for the rest of the time suggested in the Temperature Side Notes. Remember that bulk fermentation can take longer in cooler kitchens or during colder weather. To help maintain a steady, warm environment, use Challenger’s Proofing Kit. The proofing box traps heat and moisture, while the fermentation mat provides gentle, even warmth—helping your dough rise consistently no matter the season.
Step 4: Pre-Shape
Loosen the edge of the dough with a wet spatula or plastic dough scraper. Turn your dish over and let the dough slowly come out. If it doesn’t come out easily, just loosen it a bit more. Pre-shape your dough into a nice round ball.
Step 5: Bench Rest
Cover your ball of dough with a damp cloth and wait 15 minutes.
Step 6: Divide, Shape, & Room Temperature Proof
Gently divide the dough into two equal pieces (~375 g each). Pre-shape each piece into a round ball (if the dough feels tight or resists shaping, let it rest for 10-15 minutes to relax the gluten. If it’s soft, pliable, and easy to shape, you can proceed without resting). Shape each round ball into a tight boule for structure, as a well-shaped round boule will hold soup best. Place each into a small linen-lined banneton or well-floured bowl. Cover each with plastic covers and let them rest for 15 minutes at room temperature.
Step 7: Proof
Place your covered bannetons in your refrigerator for 12-15 hours. The best temperature for your refrigerator is 39°F/4°C.
Step 8: Score & Bake
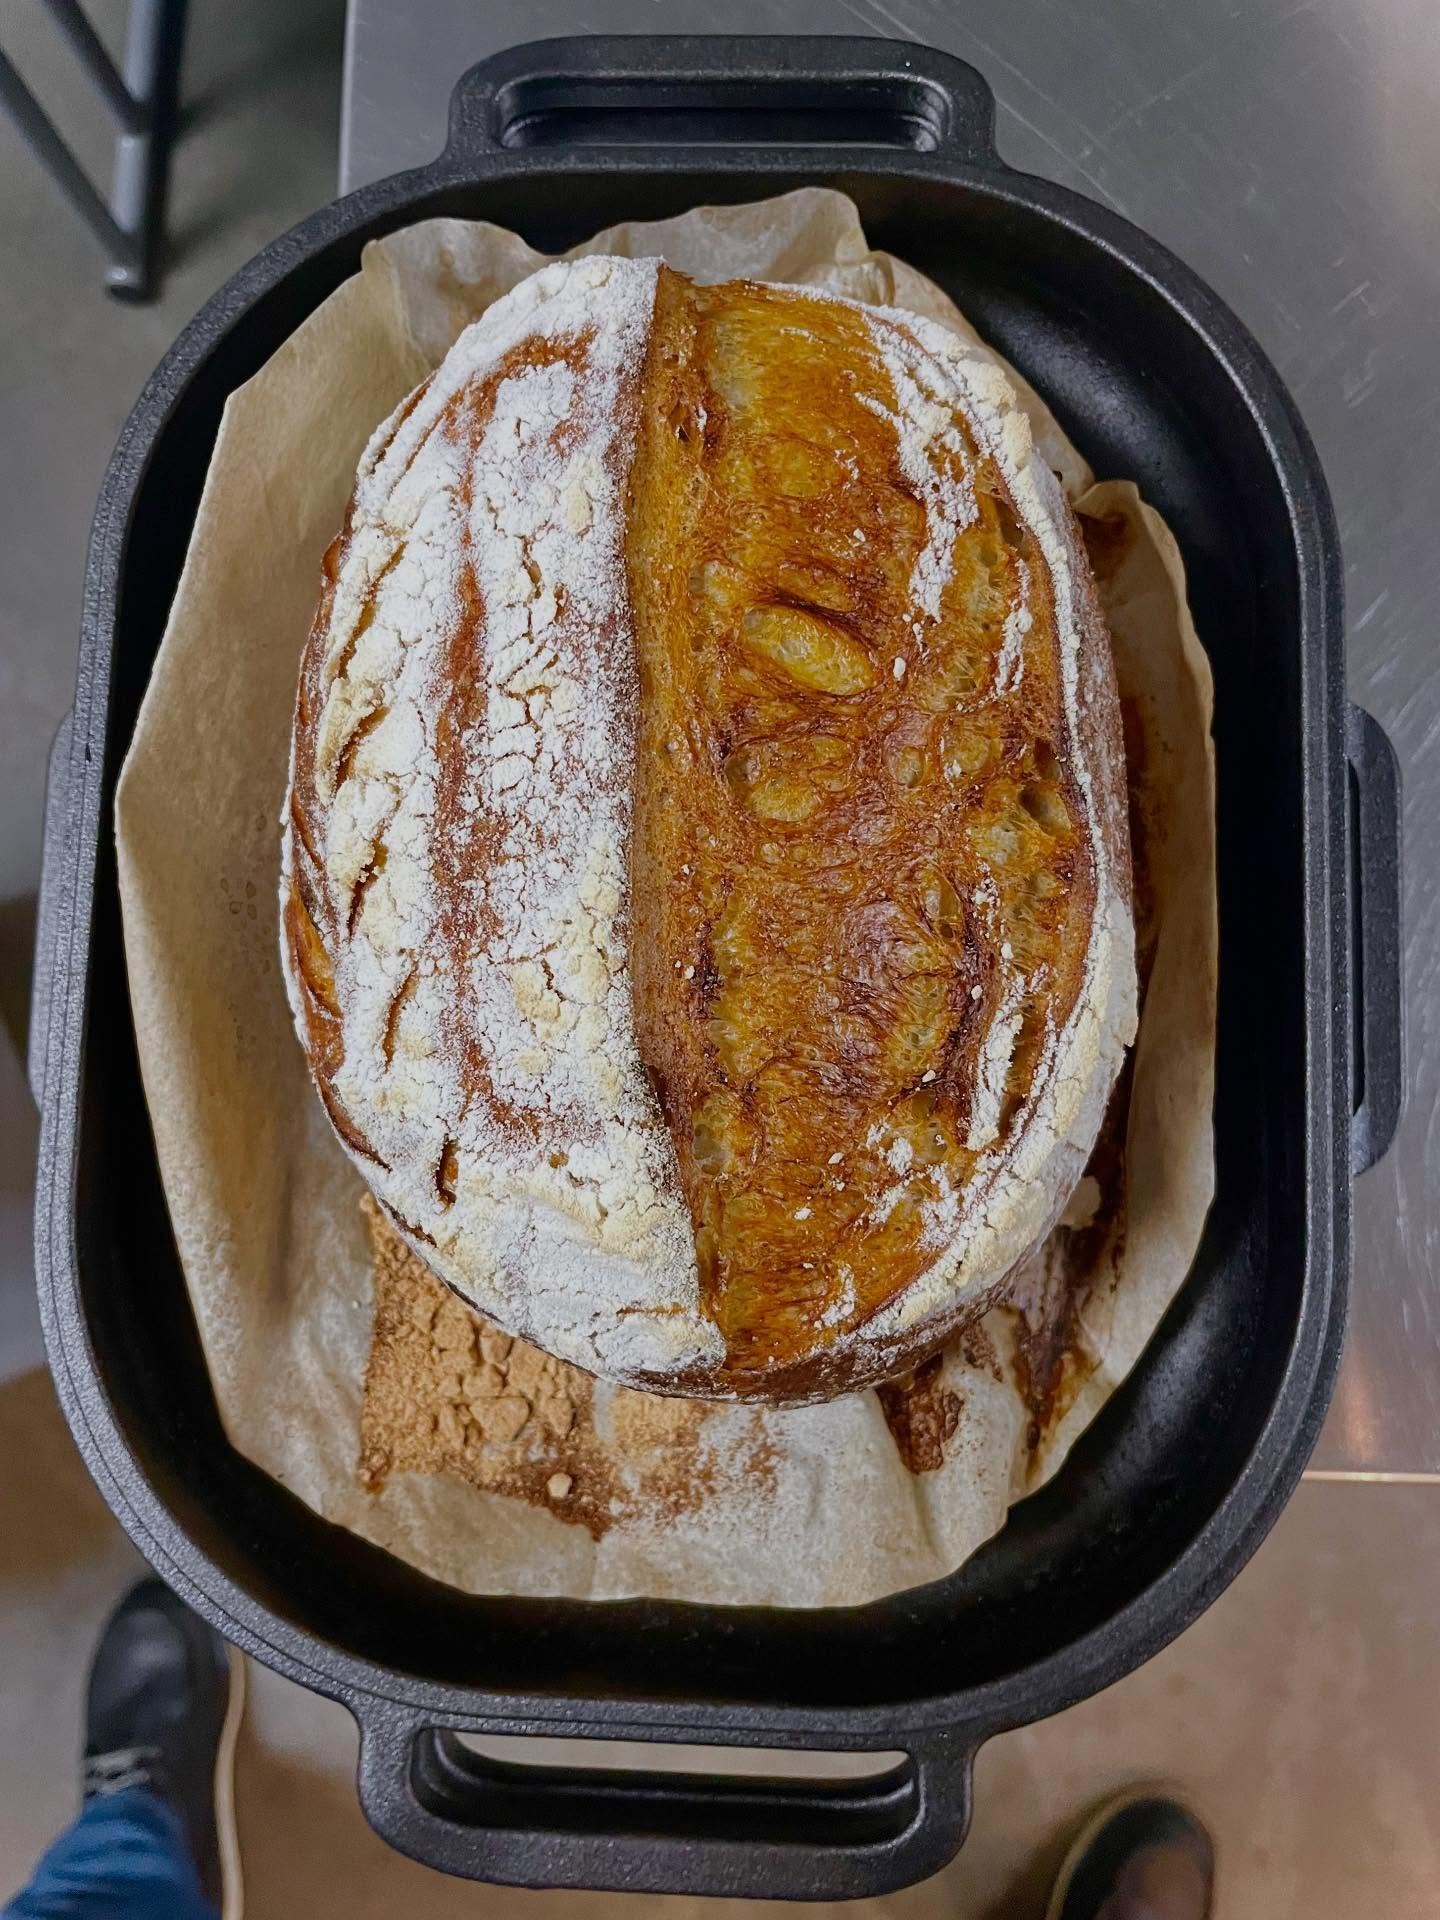
Preheat your oven and Challenger Bread Pan at 500°F/260°C for 45 minutes. Take your bannetons out of the fridge. Put an ice cube in a small bowl. Take your pan out of the oven and remove its cover. Carefully turn your dough balls into the base of the hot pan. Score your loaves. Slide the ice cube into a corner of the pan. Place the cover back on the pan and return your pan to the oven. Turn your oven down to 435°F/224°C. About 15 or 20 minutes into your bake is the best time to implement our Challenger Inversion Method: Open your oven, remove the lid, turn it upside down, and place it next to the base, right in your oven. Then, simply lift the base, with the bread still in it, and set it gently on top of the inverted lid. Close the oven.
After another 20 minutes of baking, check your loaves. Bake time will be slightly shorter than baking our KIS recipe in one loaf– check at 20 minutes after removing the lid and finish uncovered until deep brown (about 5–10 minutes less than a full loaf). Remove your loaves from the oven and place on a wire rack to cool.
Step 9: Enjoy Your Bake!
Allow the loaves to cool before cutting. Use a sharp knife to cut a circle in the top of each bread bowl, and hollow out the interior, leaving a ½ inch wall. Fill with your favorite fall soup, and enjoy!
Please tag #KISSourdough, and we will comment and answer any questions! |